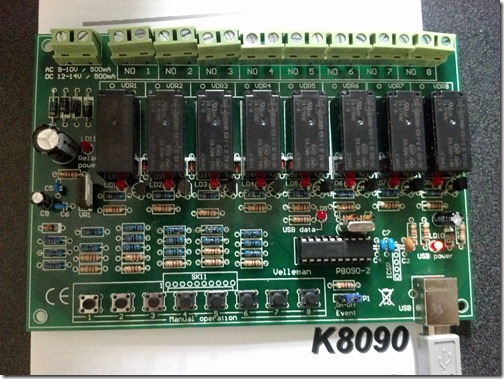
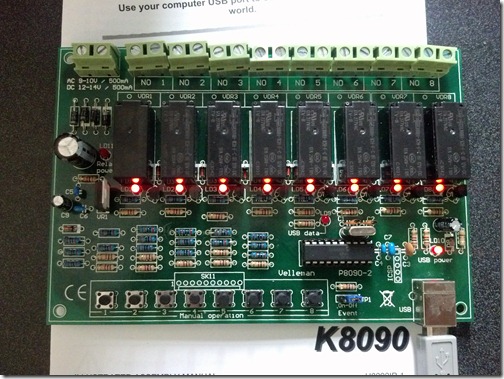
N-Button Pro version supports Velleman devices. It’s very easy to create buttons to control Velleman K8090/VM8090 8-channel USB relay card.
Connect Velleman K8090/VM8090 USB relay card with your computer.
Install and run N-Button Pro. N-Button Pro Manager panel will be shown as below.
Click “Setting” button to select Velleman device.
After setting, Velleman device information will be show on N-Button Pro Manager.
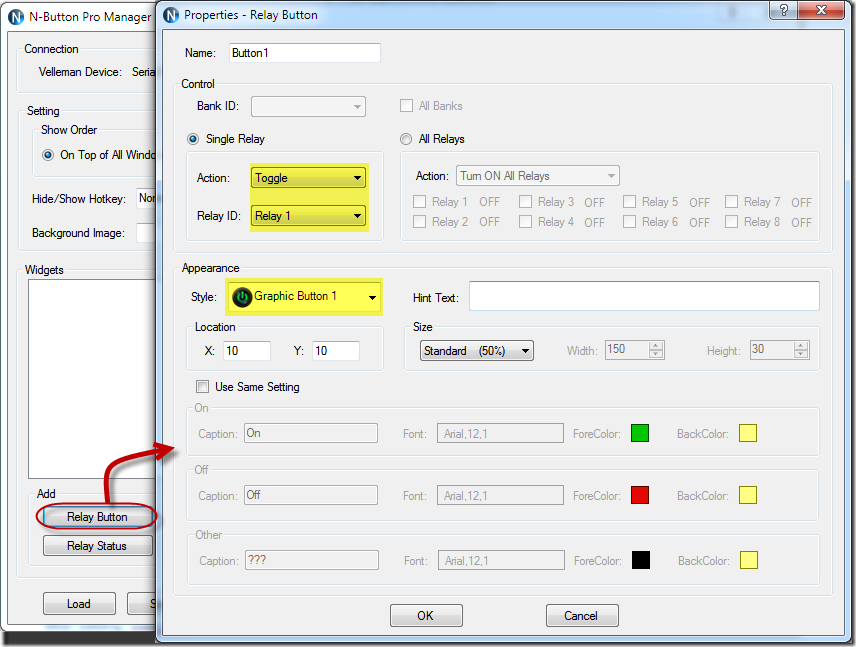
Click “Relay Button” to open “Properties – Relay Button” panel.
Select action, relay channel and appearance. Click OK to add the relay button.
More buttons can be added to control different channel of Velleman K8090/VM8090 separately in this way. You also can create a button to Turn ON/OFF all relay channels.
Click OK, you will see the buttons float on the left up corner of your desktop.(The default location of the button will be at the top left corner of your desktop. It can be modified on Propertied panel.)
Click and drag the button to move it on your desktop. You will have ten buttons to control your Velleman K8090/VM8090 USB relay card.
Right click the button to show the pop-up menu.
Click Properties to show the Properties – Relay Button panel to edit the button settings.
Check Move to allow move the button alone.
Click N-Button Pro Manager to show N-Button Pro Manager panel.
Check Move All to allow move all the other buttons together when move this button.
Now you can click the created buttons to control Velleman K8090/VM8090 USB relay card.
The following video shows how to control Velleman K8090/VM8090 USB Relay Card with N-Button Pro.
See also:
Quick Timer R8X Supports Velleman K8090/VM8090 Relay Card
Relay Timer R8X Supports Velleman K8090/VM8090 Relay Card


